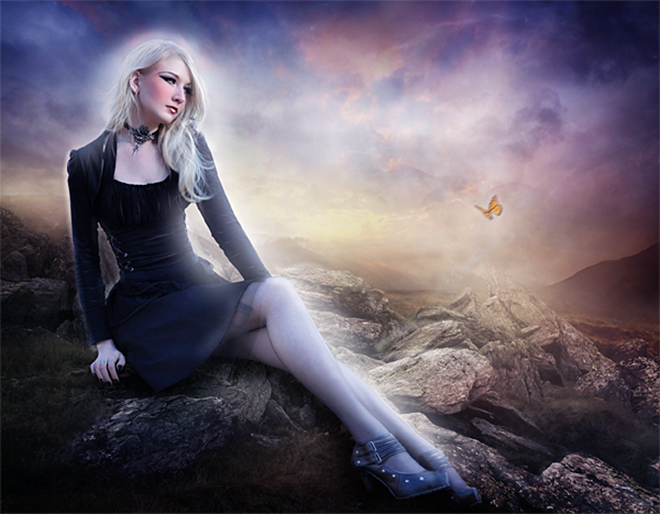
AppId is over the quota
Go to File – New (Ctrl+N).

Then change the resolution of the new file to Width 2500 pixels and Height 1944 pixels.

Open the model’s file and used the pen tool to select the model. Pass all over the edges and make sure you end the selection in the same point you started, closing the path like this:

After you close the path press right click and you will see a menu on the screen then choose the option Make Selection.

Then choose the option New Selection and press ok

The end result has to be like this one:

Now Press Ctrl + J on your keyboard or press right click and select the option Layer via Copy.

Add base image for the background, In this case you can use a blue tone, with not to much saturation and reduce the opacity to 90%.

Add the layer with the stones to the background. Resize the layer pressing Ctrl + T in the option free transform to fit the image. Press enter to apply the transformation. Make sure you press Shift and with the mouse on one of the corners change the size of the image in that way the Width and the Height are always going to be the same, and the image will never be distort.

Go to menu: Image – Adjustments – Hue/Saturation (Ctrl+U) and in the option Saturation reduce to -40. Press ok to save the changes.

Now pick the Eraser tool (E) and pass over the sky, just leave the rocks. Choose a soft round brush of 600px.

Change the rocks layer mode to hard light.

Add a new layer, this one has mountains and nice colors. Add that to the image. You can always modify the size with free transform (Ctrl+T)

Reduce the opacity of the layer to 80% and pick the eraser tool (E) and pass over the rocks.

কোন মন্তব্য নেই:
একটি মন্তব্য পোস্ট করুন